NVMe Enclosure Buying Guide: Thunderbolt and USB4
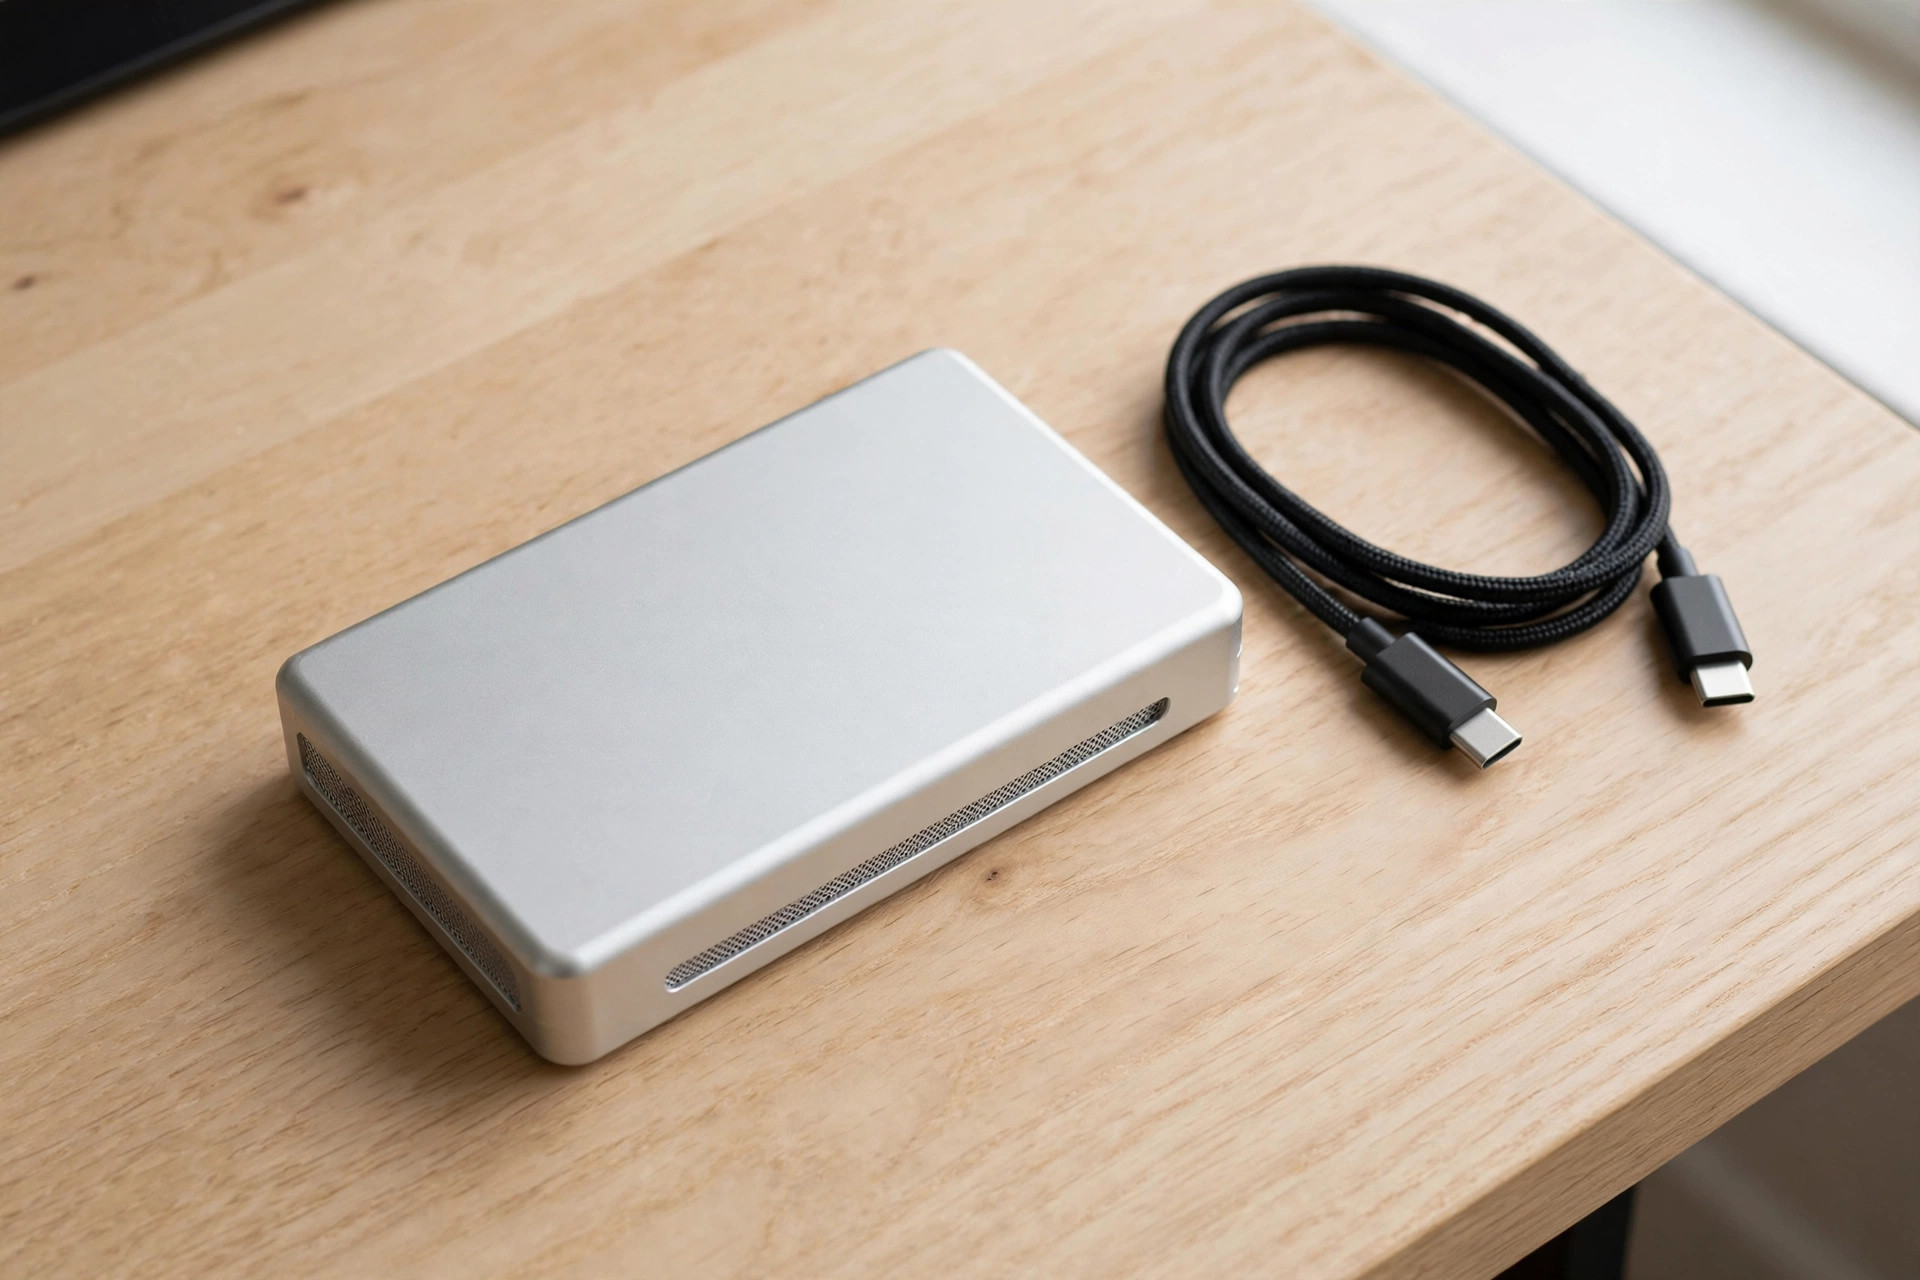
Have a spare NVMe SSD from a laptop upgrade? An NVMe enclosure turns it into a portable drive that can outperform most off-the-shelf external SSDs — often for less money. But the enclosure market is a minefield of chipsets, interface claims, and thermal designs. Buy the wrong one and your 7,000 MB/s Gen4 drive crawls at 1,000 MB/s in a hot metal tube.
This guide covers what actually determines enclosure performance in 2026: the bridge chipset, the interface, and the thermals — plus when to skip DIY entirely.
Why build instead of buy?
Three reasons. First, value: a quality 10 Gbps enclosure plus a 2TB NVMe often costs 20–30% less than an equivalent ready-made portable SSD, and you choose the exact NAND inside. Second, reuse: that 1TB drive from your old laptop becomes a fast external instead of e-waste. Third, upgradability: when you outgrow the capacity, swap the drive, not the whole product.
The tradeoff is effort and risk. You assemble it, you own the compatibility questions, and warranty coverage splits between two vendors. For many enthusiasts that is a feature, not a bug.
The chipset is the product
Two enclosures with identical aluminum bodies can perform completely differently because the bridge chipset — the chip translating NVMe to USB or Thunderbolt — does the real work. In 2026, three families dominate:
Realtek RTL9210/RTL9220: the workhorse of 10 Gbps enclosures. Mature firmware, broad compatibility, low power draw, honest 1,000 MB/s. The RTL9220 adds 20 Gbps (Gen 2x2) support. If you want a no-drama enclosure, start here.
ASMedia ASM2362/ASM2364: the performance pick for 10 and 20 Gbps. Slightly faster than Realtek in sustained writes, excellent TRIM passthrough, and the ASM2364 handles Gen 2x2 well. Firmware updates are less frequent, but the hardware is proven.
USB4/Thunderbolt bridge chips (ASMedia ASM2464PD, Intel-based designs): the 40 Gbps tier, delivering 3,000–3,800 MB/s from a good Gen3 or Gen4 drive. Expensive, hot, and picky about cables — but nothing else touches the speed. Note that putting a Gen4 drive in a USB4 enclosure still caps around 3,800 MB/s; the interface, not the drive, is the limit. Our PCIe Gen5 SSD guide explains why interface ceilings matter more than drive specs.
Chipset shootout: ASM2464 vs RTL9210 vs JMS583
The bridge chip is the single biggest determinant of what your enclosure can do, so it pays to know the players by name. The ASMedia ASM2464 is the reference USB4 bridge: PCIe Gen3 x4 toward the drive, 40 Gbps USB4 toward the host, and real-world reads of 3,000–3,800 MB/s with a decent Gen3 or Gen4 drive. It idles efficiently but runs hot under sustained load, which is why every credible ASM2464 enclosure ships with a thick thermal pad and a finned metal body. Its weakness is pickiness — it demands a certified 40 Gbps cable, and early firmware revisions had sleep/wake quirks on some Macs, so buy from a vendor shipping current firmware.
The Realtek RTL9210 is the opposite philosophy: 10 Gbps USB 3.2 Gen 2, modest ambitions, near-perfect reliability. Expect an honest 1,000 MB/s, low heat, and mature TRIM and SMART passthrough. Its sibling the RTL9220 adds Gen 2x2 20 Gbps for Windows and Linux users who want double the speed without USB4 pricing. Between them sit the ASMedia ASM2362 (10 Gbps) and ASM2364 (20 Gbps), slightly ahead of Realtek on sustained-write consistency with equally good TRIM support — if a 10 Gbps enclosure advertises an ASMedia bridge at a Realtek price, take the ASMedia.
The JMicron JMS583 is the budget veteran inside most sub-$20 enclosures. It delivers genuine 10 Gbps speeds and broad drive compatibility, but firmware updates are rare and TRIM passthrough is inconsistent across revisions. Fine for a spare-drive dock or a game library; not the chip for a working drive you write to daily.
| Bridge chip | Interface | Real throughput | Heat | TRIM/SMART | Best use |
|---|---|---|---|---|---|
| ASMedia ASM2464 | USB4 40 Gbps | 3,000–3,800 MB/s | High | Yes | Video editing, maximum speed |
| Realtek RTL9220 | USB 3.2 Gen 2x2 | 1,800–2,000 MB/s | Medium | Yes | Windows/Linux value speed |
| ASMedia ASM2364 | USB 3.2 Gen 2x2 | 1,800–2,000 MB/s | Medium | Yes | Sustained-write prosumer work |
| Realtek RTL9210 | USB 3.2 Gen 2 | 900–1,050 MB/s | Low | Yes | Universal no-drama pick |
| ASMedia ASM2362 | USB 3.2 Gen 2 | 900–1,050 MB/s | Low | Yes | 10 Gbps, better sustained writes |
| JMicron JMS583 | USB 3.2 Gen 2 | 850–1,000 MB/s | Low | Inconsistent | Budget spare-drive duty |
The working rule: the chipset sets your ceiling, the thermals decide whether you ever reach it, and the cable decides whether the computer sees it at all.
Interface tiers compared
| Enclosure tier | Interface | Real speed | Typical price | Best paired with |
|---|---|---|---|---|
| Budget 10 Gbps | USB 3.2 Gen 2 | 900–1,050 MB/s | $15–30 | Any spare NVMe, universal use |
| Performance 20 Gbps | USB 3.2 Gen 2x2 | 1,800–2,000 MB/s | $35–60 | Gen3/Gen4 drives, Windows/Linux |
| USB4 40 Gbps | USB4 | 3,000–3,800 MB/s | $80–150 | Gen3/Gen4 drives, video work |
| Thunderbolt 3/4 | Thunderbolt | 2,800–3,200 MB/s | $100–200 | Mac studios, daisy-chaining |
The 10 Gbps tier is the rational default: every computer made in the last decade can feed it, enclosures are cheap, and 1,000 MB/s covers photo work, game libraries, and general file hauling. Step up to 20 or 40 Gbps only when your workload and your ports both justify it — and remember Macs skip Gen 2x2, so Apple users choose between 10 Gbps and USB4/Thunderbolt.
Thunderbolt 4 vs USB4 vs Gen 2x2: what benchmarks actually show
Thunderbolt 4 and USB4 both advertise 40 Gbps, but they behave differently in testing. Thunderbolt 4 enclosures deliver 2,800–3,200 MB/s with excellent consistency and daisy-chaining, and they are the native choice for Mac studios — at $100–200 plus Thunderbolt-certified cables. USB4 enclosures (ASM2464-based) benchmark higher in sequential reads, 3,000–3,800 MB/s, for $80–150, and work on any USB4 port — but throughput varies more with the host controller, and some AMD-based laptops trail Intel-based ones by 10–15% on identical hardware.
Gen 2x2 (20 Gbps) is the forgotten middle: an honest 1,800–2,000 MB/s for $35–60. On Windows and Linux it is the value sweet spot — half the price of USB4 for half the speed. On a Mac it is a trap, because Apple never implemented Gen 2x2 and the enclosure falls back to 10 Gbps. Check your machine's specs for "USB 3.2 Gen 2x2" before buying; the USB-C port shape alone proves nothing.
Typical measured results with a Gen4 drive: USB4 on an Intel USB4 port, ~3,500 MB/s read and ~3,000 MB/s write; Thunderbolt 4 on a Mac Studio, ~3,000/2,700; Gen 2x2 on a Windows desktop, ~1,950/1,800; 10 Gbps on anything, ~1,000/950. Each tier roughly doubles the last, and each tier demands matching ports, cables, and a drive fast enough to feed it. A Gen3 drive caps a USB4 enclosure around 3,200 MB/s — still triple 10 Gbps, and a sensible pairing when the drive was free.
Thermals: the spec nobody advertises
An NVMe drive designed for a motherboard heatsink, stuffed into a sealed aluminum tube, will throttle. Good enclosures include a thermal pad coupling the drive to the metal body, turning the case into a heatsink. Cheap ones skip it, and sustained writes collapse after a few dozen gigabytes.
For USB4 enclosures, thermals are the whole game. Some include tiny fans; most rely on finned aluminum bodies that get genuinely hot to the touch. This is normal — a warm enclosure is a working heatsink. A cool enclosure during a 200GB copy is a throttling one. If you plan sustained workloads, prefer enclosures with finned designs and real thermal pads, and give the drive a minute between massive transfers.
Thermal design deep dive: fins, fans, and graphene pads
Makers fight heat three ways. Finned aluminum bodies are the standard: extruded ridges multiply surface area while a thermal pad couples the drive's controller to the shell. This handles 10 and 20 Gbps indefinitely and USB4 for typical bursts, but a long sustained write still pushes a Gen4 drive toward its 70–75°C throttle point. Active cooling — a tiny fan in a few premium USB4 enclosures — holds temperatures 10–15°C lower during long transfers, at the cost of noise, bulk, and a moving part. It earns its keep for editors rendering to the enclosure for hours.
Graphene pads are the 2026 refinement: thin, flexible, electrically non-conductive sheets that spread heat laterally across the drive before it reaches the case. They measurably outperform basic silicone pads, especially on double-sided drives where the backside NAND needs its own thermal path. "Graphene thermal pad included" is a genuine spec line, not marketing.
Shopping guidance: for 10 Gbps, any enclosure with a real thermal pad suffices; for 20 Gbps, prefer finned bodies; for USB4, demand fins plus a thick or graphene pad, and accept a hot shell — 50–55°C under load is a working heatsink. Speed collapsing to 500 MB/s after two minutes is not normal; it means the pad is missing or misaligned and the drive is throttling to survive.
Compatibility checklist
Before buying, verify four things. Form factor: nearly all enclosures take M.2 2280; only some accept shorter 2230/2242 sticks or longer 22110 enterprise drives. Protocol: most enclosures are NVMe-only — a SATA M.2 drive will not work in them (and vice versa for the rare dual-protocol models). Keying: M-key NVMe is standard; B+M-key SATA drives need a dual-mode enclosure. Capacity: budget bridge firmware sometimes caps at 2TB; check the specs if you are installing 4TB or 8TB.
Also confirm TRIM and SMART passthrough — without them, the drive cannot maintain itself and you cannot monitor its health. Quality chipsets (RTL9210, ASM2362 and newer) handle both; no-name bridges often do not.
Drive thickness matters too. Most consumer NVMe drives are single-sided, but 4TB and 8TB models are often double-sided — and slim enclosures sometimes lack the clearance, or their thermal pad only contacts one face. Check supported drive thickness before installing 4TB+. For odd lengths: 2230 sticks (left over from handheld-PC upgrades) need a 2230-compatible enclosure or an extender; 2242 needs the middle standoff; 22110 enterprise drives fit almost nothing consumer-grade.
Assembly in five minutes — and the five mistakes that cost you speed
Assembly is straightforward: open the enclosure (usually one or two screws, sometimes tool-free), insert the NVMe drive at a 30-degree angle into the M.2 slot, secure it with the screw or rubber retainer, press the thermal pad onto the drive's controller and NAND packages, and close the case. The whole process takes under five minutes with a small Phillips screwdriver.
First power-on checklist: the drive should appear immediately in your OS disk manager. If it does not, reseat the drive — most "dead enclosure" reports are loose connections. Format it to your target filesystem, run a quick benchmark to confirm the expected interface speed, and check SMART data to verify the drive reports temperature correctly. A drive that cannot report temperature cannot protect itself from heat.
Now the mistakes. 1. Skipping the thermal pad. The most common assembly error — the pad looks optional, so it stays in the box, and sustained writes throttle within minutes. Always install it. 2. Wrong screw standoff. Enclosures supporting 2230/2242/2280 ship with multiple standoff positions; screwing a 2280 drive into the 2242 standoff bends the drive and can crack solder joints. 3. Pad on the label, not the chips. The pad must contact the controller and NAND packages — press firmly so it compresses through any paper label, which otherwise acts as insulation. 4. The wrong cable. The boxed cable is rated for the enclosure's interface; the random USB-C cable in your drawer probably is not. A 40 Gbps enclosure on a 10 Gbps cable benchmarks at 10 Gbps and you will blame the wrong part. 5. Leaving the desktop heatsink on. Some NVMe drives ship with a thick motherboard heatsink attached — it will not fit, and forcing the case closed flexes the PCB. Remove it before installation.
Veteran move: after assembly, run a 50GB sustained write while watching the SMART temperature. If speed holds without crossing ~70°C, the thermal path is good. If it throttles, reopen the case and check pad contact before blaming the chipset.
2026 pricing tiers: what good money looks like
Enclosure pricing in 2026 is stable enough that overpaying is easy to spot. $15–30 buys a solid 10 Gbps enclosure (RTL9210/JMS583) with a thermal pad and a decent cable; below $15 you gamble on missing pads and fictional chipset claims. $35–60 is the Gen 2x2 tier (RTL9220/ASM2364) — worthwhile on Windows/Linux with supporting ports, pointless on a Mac. $80–150 is USB4: expect a finned aluminum body, a thick or graphene pad, and a certified 40 Gbps cable in the box; under $80, the thermals are usually what got cut. $100–200 covers Thunderbolt 3/4, where you pay for Intel certification and daisy-chaining.
Pair that with 2026 drive street prices — 1TB Gen4 around $60–80, 2TB around $110–140 — and the DIY math writes itself: a $25 enclosure plus a spare 2TB drive is a $25 portable SSD at 1,000 MB/s, while a $120 USB4 enclosure plus a $130 2TB Gen4 is a $250 drive that outruns every $300+ ready-made portable SSD. The economics only break when you must buy the NVMe new and a ready-made equivalent sits within 15% — then the single-vendor warranty wins. Once assembled, the result rivals pre-built options like the drives in our USB4 portable SSD guide at a fraction of the cost — when you already own the NVMe.
When a ready-made portable SSD wins
DIY is not always the answer. Ready-made portable SSDs win on ruggedness (IP55 ratings, drop testing), warranty simplicity (one vendor, one RMA), and size (the XS1000 is smaller than most enclosures alone). They also include tuned firmware where the controller, NAND, and bridge were validated together.
Do the math honestly: if the enclosure plus a new NVMe costs within 15% of a ready-made equivalent, buy ready-made. DIY pays off when you already own the drive — that is when the economics become unbeatable. For capacity planning on the drive side, our 2TB vs 4TB SSD guide applies equally to enclosure builds.
Who it's for / who should skip it
Build an NVMe enclosure if: you have a spare NVMe drive, you want maximum speed per dollar, you enjoy choosing your own NAND, or you need 4TB+ portable storage without the portable-SSD price premium.
Skip it if: you need rugged, warrantied, pocketable storage for field work — buy a ready-made rugged SSD; you are not comfortable with a screwdriver and a firmware update; or the total cost approaches a pre-built drive, in which case the warranty and tuning are worth the small premium.
FAQ
Can I use a PCIe Gen5 SSD in an enclosure?
Physically yes, practically pointless. No external interface exceeds ~3,800 MB/s, so a Gen5 drive's 14,000 MB/s is wasted — and Gen5 drives run hotter, which is the last thing an enclosure needs. A cool-running Gen3 or Gen4 drive is the ideal enclosure candidate.
Will an enclosure work with my M.2 SATA SSD?
Only in a dual-protocol (NVMe + SATA) enclosure. Most NVMe enclosures do not accept SATA drives at all — the protocols are electrically different. Check the enclosure specs for "SATA support" before assuming.
Do enclosures support TRIM?
Good ones do. TRIM passthrough depends on the bridge chipset and its firmware — Realtek and ASMedia's current chips handle it. Without TRIM, write performance degrades over months of use. This is a key reason to avoid unbranded no-name enclosures.
Why is my enclosure slower than advertised?
The usual suspects, in order: the computer's port (a 5 Gbps port caps everything), the cable (must match the interface rating), thermal throttling (especially in fanless USB4 models), and a Gen 2x2 enclosure on a Mac (falls back to 10 Gbps). Check each link before blaming the enclosure.
Is a USB4 enclosure worth double the price of a 10 Gbps one?
Only for sustained high-bandwidth work — 4K/8K video editing, large dataset shuffling — on a computer with USB4 ports. For backups, photo ingest, and game storage, 10 Gbps saturates the actual need. Buy bandwidth you will use, not bandwidth you can brag about.
Can I boot an operating system from an NVMe enclosure?
Usually yes, with caveats. Most modern UEFI firmware boots from USB-attached NVMe, and portable Linux installs or Windows-to-Go-style setups run well from a 10 Gbps enclosure. The gotchas: some enclosures take a second or two to enumerate, which can confuse fast-boot sequences; encryption tools add friction on removable boot media; and sustained OS use without TRIM passthrough degrades performance over time — another reason to buy a quality bridge chip.
Does an enclosure drain my laptop battery?
Modestly. A 10 Gbps enclosure draws roughly 2–4W under load — a few percent of extra battery drain per hour of active transfers. USB4 enclosures with Gen4 drives can pull 6–8W sustained, which is why some throttle or disconnect on underpowered ports; if your laptop's USB-C port sags under load, a powered hub solves it.
Can I stripe two enclosures in RAID 0 for more speed?
You can, but expect disappointment. Software RAID 0 across two USB4 enclosures can exceed 5,000 MB/s in synthetic benchmarks, yet real-world gains are eaten by USB controller overhead and CPU usage — and the failure surface doubles, since losing one enclosure kills the array. A single good USB4 enclosure is faster in practice for almost every real workload, with half the things that can break.
An NVMe enclosure is the enthusiast's portable SSD: cheaper when you supply the drive, faster than anything at its price, and entirely yours to maintain. Match the chipset to your ports, respect the thermals, and that spare drive becomes the best storage purchase you never quite made.